Maintaining the balance of your vehicle’s wheels is essential for a smooth ride and the longevity of your tires. Over time, wheel weights may need to be removed for tire changes or rebalancing. In this blog, we’ll walk you through how to use a wheel weight remover effectively. Whether you’re a DIY enthusiast or a professional mechanic, this guide will help you perform the task with ease and precision.
What is a Wheel Weight Remover?
A wheel weight remover is a specialized tool designed to remove the wheel weights that are attached to the rims of your vehicle’s wheels. These weights are crucial for balancing the wheel and ensuring even tire wear. Removing them correctly is important to avoid damaging the wheel or the tire.
Tools You’ll Need
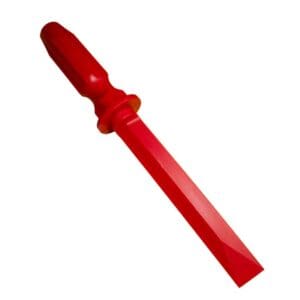
- Wheel Weight Remover: A dedicated tool designed for safely removing wheel weights.
- Safety Gloves: To protect your hands from sharp edges and debris.
- Safety Glasses: To protect your eyes from flying debris.
- Wheel Cleaner: To clean the area after weight removal.
- Replacement Weights: If you’re planning to rebalance the wheels immediately.
Step-by-Step Guide
Step 1: Safety First
Before you begin, ensure that your vehicle is parked on a flat surface and the parking brake is engaged. Wear your safety gloves and glasses to protect yourself during the process.
Step 2: Locate the Wheel Weights
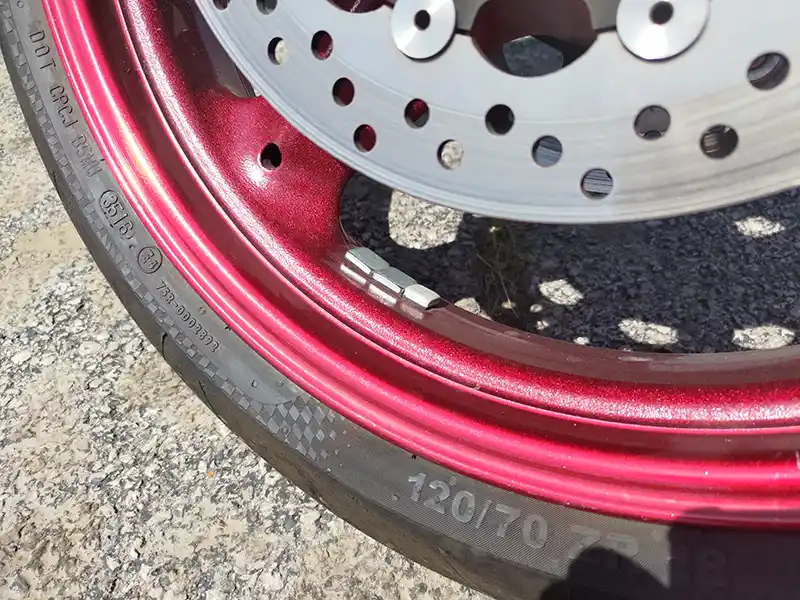
Wheel weights are typically found on the inner or outer edge of the wheel rim. They can be either clip-on or adhesive types.
Step 3: Position the Wheel Weight Removal Tool
For clip-on weights:
- Position the removal tool so that the jaws of the tool are around the weight.
- Squeeze the handles of the tool to grip the weight firmly.
For adhesive weights:
- Use the flat end of the tool to get under the adhesive strip.
- Apply gentle pressure to lift the weight off the rim.
Step 4: Remove the Weight
For clip-on weights:
- Once the tool is gripping the weight, pull it away from the rim with a steady motion.
- The weight should come off easily without much resistance.
For adhesive weights:
- Carefully pry the weight off by applying gradual force to avoid scratching the rim.
- If the adhesive is stubborn, use a solvent to soften it before removal.
Step 5: Clean the Area
After removing the weight, clean the area thoroughly to remove any adhesive residue or dirt. This ensures a smooth surface for the new weight if you’re planning to rebalance the wheel.
Step 6: Inspect the Rim
Check the rim for any damage that may have occurred during weight removal. It’s important to ensure the integrity of the wheel before attaching new weights.
Step 7: Attach New Weights (If Necessary)
If you’re rebalancing the wheel, attach the new weights according to the manufacturer’s specifications. Use a balancing machine to determine the correct placement and weight needed.
Tips for Using a Wheel Weight Removal Tools
- Practice Caution: Always handle the tool with care to avoid damage to the wheel or injury to yourself.
- Use the Right Tool: Ensure you are using the correct type of removal tool for the weights you are dealing with.
- Regular Maintenance: Keep your remover tool clean and well-maintained to ensure its longevity and effectiveness.
Using a wheel weight removal tool is a straightforward process that, when done correctly, can save you time and money on vehicle maintenance. By following these steps and using the right tools, you can safely remove and replace wheel weights, ensuring your wheels are properly balanced and your vehicle runs smoothly.
For all your tire maintenance needs, including wheel weight tools, visit TireHardware.com. We offer a wide range of tools and accessories to help you keep your vehicle in top condition. Happy motoring!


