A Step-by-Step Guide to Using a Durometer to Measure the Hardness of Tire Rubber, Gaskets, and Seals
When it comes to assessing the quality and durability of rubber components like tires, gaskets, and seals, a durometer is an essential tool. This device measures the hardness of materials, which directly impacts performance, flexibility, and wear resistance. However, achieving accurate readings requires proper technique and an understanding of external factors like temperature.
In this post, we’ll walk you through the step-by-step process of using a durometer, explain how temperature affects readings, and provide tips to ensure accurate measurements every time.
What is a Durometer?
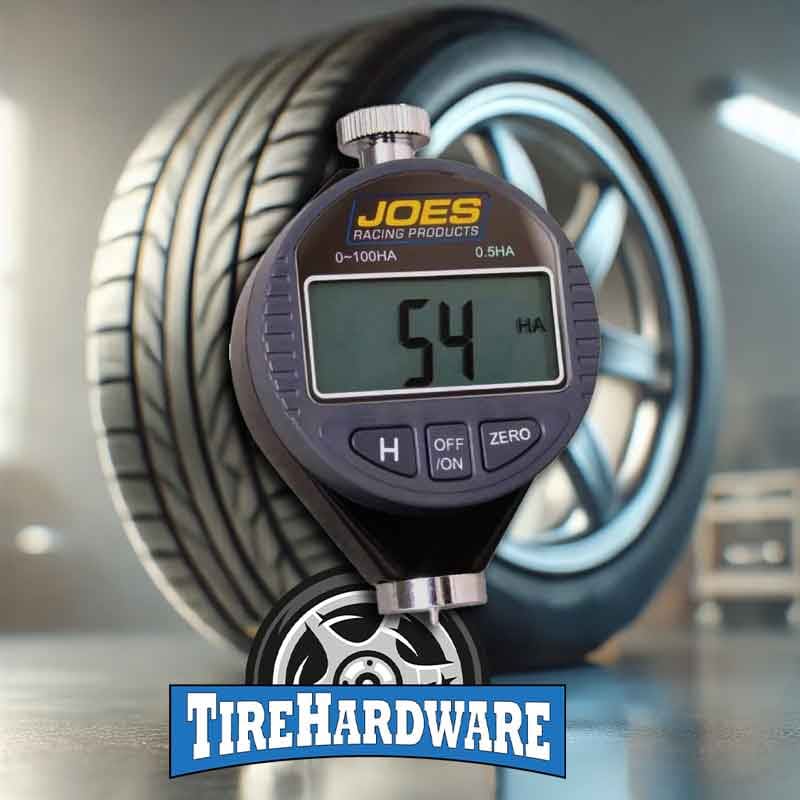
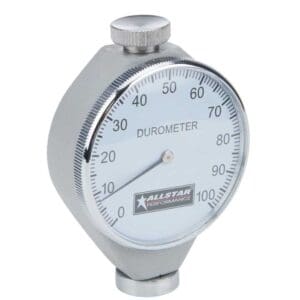
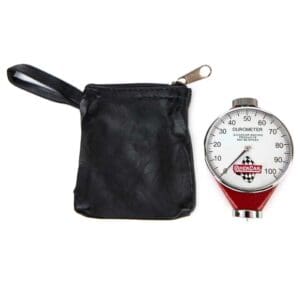
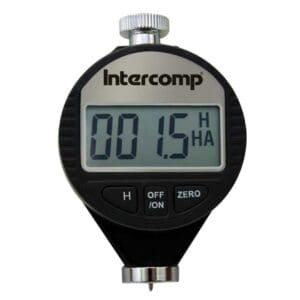
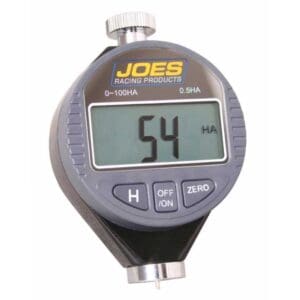
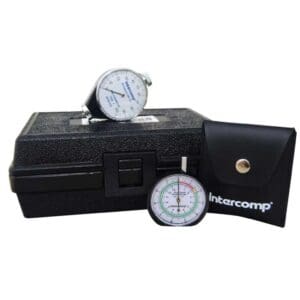
Durometers
A durometer measures the hardness of rubber, plastics, and other polymers by testing their resistance to indentation. The most common scale for measuring rubber hardness is the Shore A scale, but other scales, like Shore D, are used for harder materials.
Step-by-Step Instructions for Using a Durometer
- Select the Correct Scale
- Shore A: Ideal for softer materials like tires, seals, and gaskets.Shore D: Used for harder materials like solid plastics.
- Prepare the Material
- Place the material on a flat, stable surface.
- Ensure the material is at least 6mm (0.24 inches) thick. If it’s thinner, stack multiple layers until the required thickness is achieved.
- Calibrate the Durometer
- Before each use, check your durometer’s calibration against a known reference material. This ensures consistent readings.
- Position the Durometer
- Hold the gauge perpendicular to the material surface.
- Gently press the durometer down until the indenter makes full contact with the material, but do not apply excessive force.
- Wait for Stabilization
- Allow the reading to stabilize for approximately 1-2 seconds before recording the value.
- Repeat for Accuracy
- Take at least three readings from different points on the material and calculate the average. This accounts for any inconsistencies in the surface.
How Temperature Affects Readings
Rubber hardness is sensitive to temperature changes, and durometer readings can vary significantly depending on environmental conditions.
- Low Temperatures:
- Rubber hardens in cold environments, which can result in artificially high durometer readings.
- High Temperatures:
- Heat softens rubber, leading to lower readings.
To ensure accurate results:
- Test at a standardized temperature, typically around 23°C (73°F).
- Allow the material to stabilize at room temperature for at least 30 minutes if it was exposed to extreme heat or cold.
- Use a temperature-compensated durometer if testing must occur in non-standard conditions.
Practical Applications
- Tire Hardness
- Measure tire rubber hardness to ensure durability and road grip. Harder tires last longer but may compromise traction.
- Gasket Performance
- Test gasket materials to confirm they’re flexible enough to create a seal without compromising strength.
- Seals and Bushings
- Ensure seals and bushings maintain the right balance of flexibility and rigidity for automotive or industrial applications.
Tips for Accurate Durometer Testing
- Avoid External Pressure: Do not press too hard on the durometer; let the device do the work.
- Flat Surfaces Only: Always test on a smooth, flat surface to avoid skewed readings.
- Maintain the Durometer: Regularly clean the indenter and calibrate the device for long-term accuracy.
Using a durometer for rubber hardness testing is straightforward, but accuracy depends on proper technique and controlling environmental factors like temperature. By following these steps and tips, you can ensure precise measurements that help you select the right materials for your project or maintain the quality of your automotive components.

