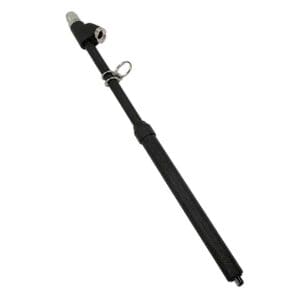
Maintaining your vehicle’s tires is crucial for safety and performance. One essential task is removing and replacing the tire valve core, a small but vital component that keeps your tire properly inflated. Follow these simple steps to get the job done quickly and efficiently using a valve core tool.
Tools You’ll Need:
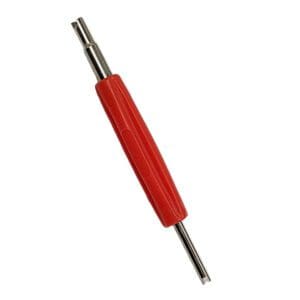
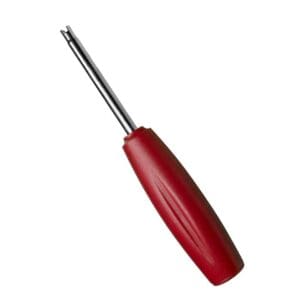
- Valve core tool
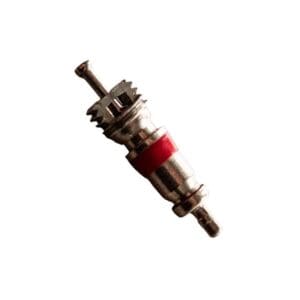
- Replacement valve core
- Tire pressure gauge
- Air compressor or tire inflator
- Safety gloves (optional)
Step-by-Step Guide:
- Prepare Your Workspace: Choose a flat, stable surface to work on your tire. Ensure you have all your tools within reach. If possible, wear safety gloves to protect your hands.
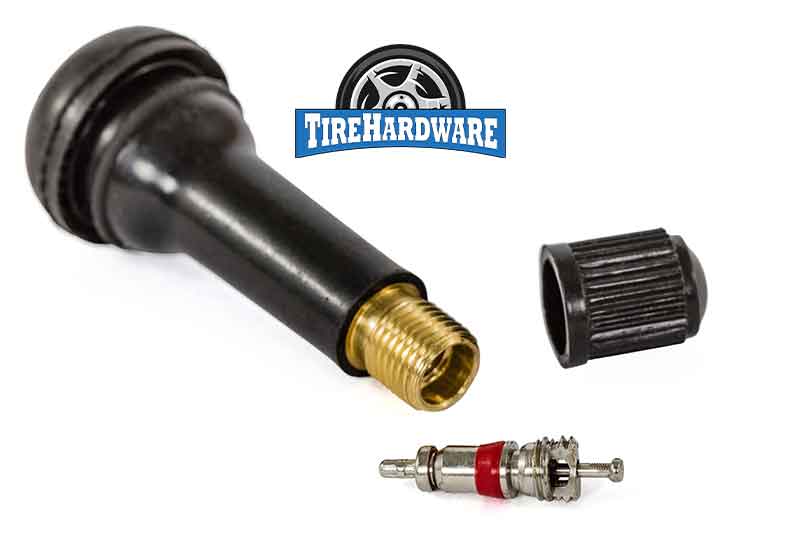
- Locate the Valve Stem: Find the valve stem on your tire. It’s usually a small rubber or metal protrusion near the rim.
- Release the Air: Remove the valve cap from the valve stem. Press down on the valve to release any remaining air from the tire. Use a tire pressure gauge to ensure the tire is completely deflated.
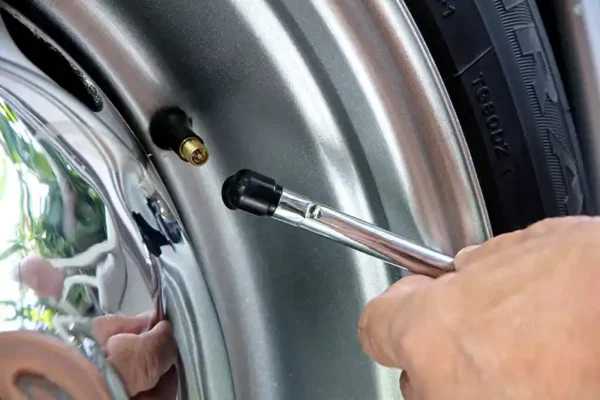
- Remove the Old Valve Core: Insert the valve core tool into the valve stem. Turn the tool counterclockwise to unscrew and remove the old valve core. Be careful, as some residual air might escape.
- Inspect the Valve Core: Check the removed valve core for any damage or wear. If the core is dirty or corroded, it’s time to replace it.
- Insert the New Valve Core: Place the new valve core into the valve stem. Use the valve core tool to screw it in clockwise until it is snug. Avoid overtightening to prevent damage to the valve stem.
- Inflate the Tire: Reattach your tire inflator or air compressor to the valve stem. Inflate the tire to the manufacturer’s recommended pressure, which you can find on the tire sidewall or in your vehicle’s owner’s manual.
- Check for Leaks: After inflating, apply a soapy water solution around the valve stem. Look for bubbles that indicate air leaks. If you see bubbles, ensure the valve core is properly tightened.
- Reattach the Valve Cap: Screw the valve cap back onto the valve stem. This protects the valve core from dirt and debris.
- Final Checks: Use a tire pressure gauge to double-check the tire pressure. Ensure it matches the recommended level for your vehicle. Make any necessary adjustments.
Tips for Success:
- Always keep a few spare valve cores in your toolkit. They are inexpensive and handy for quick replacements.
- Regularly check your tire pressure and valve core condition to avoid unexpected issues.
By following these straightforward steps, you can easily remove and replace a tire valve core, ensuring your tires remain properly inflated and safe for driving. Happy driving!

