Changing your valve stems is an important part of tire maintenance. It is recommended to replace your valve stems every time you replace your tires. This guide will provide you with the steps to change valve stems on various vehicles, from passenger cars to semi trucks.
Tools and Materials Needed
- Valve stem puller/remover tool
- New valve stems
- Tire pressure gauge
- Air compressor
- Jack and jack stands (for passenger cars and trucks)
- Lug wrench
- Tire bead breaker (optional but helpful)
- Soap and water solution
Changing Valve Stems on Passenger Cars
- Preparation: Park your car on a flat surface. Loosen the lug nuts on the wheel.
- Lift the Car: Use the jack to lift the car and secure it with jack stands.
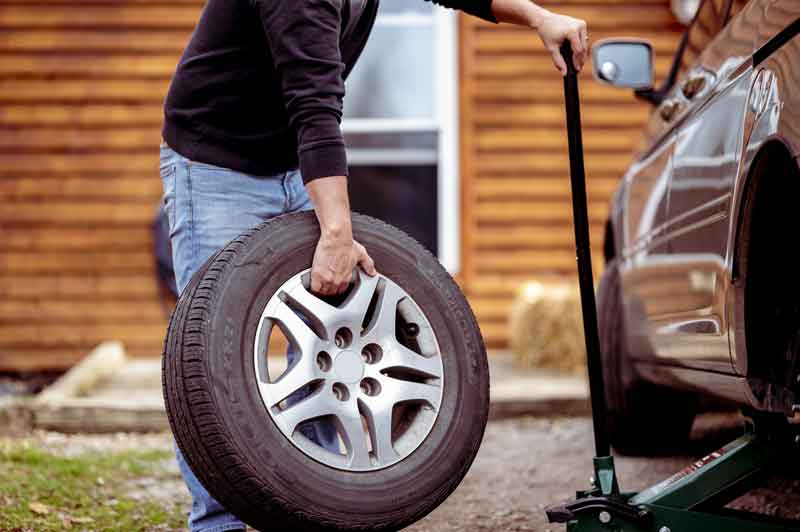
- Remove the Wheel: Take off the lug nuts and remove the wheel.
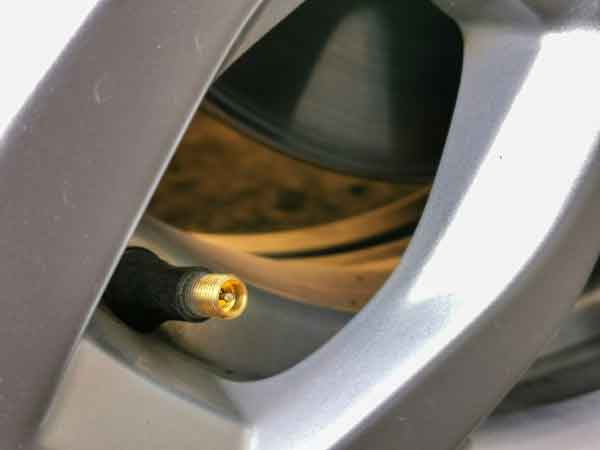
- Deflate the Tire: Remove the valve cap and press the valve or remove the core to release air.
- Break the Bead: Use a tire bead breaker or your weight to separate the tire from the rim.
- Remove the Old Valve Stem: Use a tire stem puller/remover tool to pull out the old stem if it is a snap-in. Loosen nut to remove for clamp-in style stems.
- Install the New Valve Stem: Lubricate the new snap-in stem with soapy water. Pull it through the hole in the rim until it seats properly.
- Reinflate the Tire: Inflate the tire to the recommended pressure and check for leaks using soapy water.
- Reinstall the Wheel: Put the wheel back on, tighten the lug nuts, and lower the car.
Replacing Stems on Light Trucks and SUVs
- Preparation: Follow the same initial steps as for passenger cars—park on a flat surface, loosen lug nuts, and lift the vehicle.
- Remove the Wheel: Take off the wheel using a lug wrench.
- Deflate the Tire: Release all the air from the tire.
- Break the Bead: Use a tire bead breaker or another method to separate the tire from the rim.
- Remove the Old Valve Stem: Use a valve stem puller/remover tool to pull out the old stem if it is a snap-in. Loosen nut to remove for clamp-in style tire stems.
- Install the New Valve Stem: Lubricate with soapy water and pull the new stem through until it seats.
- Reinflate the Tire: Use an air compressor to inflate the tire and check for leaks.
- Reinstall the Wheel: Put the wheel back on and secure it with the lug nuts.
Changing Tire Stems on Semi Trucks
- Preparation: Park on a flat surface. Ensure the truck is securely parked using wheel chocks.
- Deflate the Tire: Remove the valve cap and release all air from the tire.
- Remove the Wheel (if necessary): Depending on the truck’s design, you may need to remove the wheel. Use heavy-duty tools appropriate for semi trucks.
- Break the Bead: Use a heavy-duty bead breaker to separate the tire from the rim.
- Remove the Old Valve Stem: Use a valve stem puller/remover tool designed for large tires to pull out the old stem.
- Install the New Valve Stem: Lubricate the new stem with soapy water. Pull it through until it seats correctly.
- Reinflate the Tire: Inflate the tire to the recommended pressure, using a heavy-duty air compressor. Check for leaks.
- Reinstall the Wheel (if removed): If you removed the wheel, put it back on and tighten all lug nuts securely.
Changing your own valve stems can save you time and money. With the right tools and this step-by-step guide, you can maintain proper tire pressure and ensure your vehicle’s safety and performance. Whether you drive a passenger car, light truck, SUV, or semi truck, these instructions will help you replace stems with confidence.